Fast Delivery < 1 Hour
Free Delivery On Orders Over $199
A whipped cream dispenser is one of those tools that transforms your kitchen routine. Whether you’re topping a dessert, adding flair to a coffee, or experimenting with foams and infusions, it’s a small investment that offers big returns. This guide walks you through everything you need to know, from setup to creative uses.
Before getting started, make sure you have the right setup:
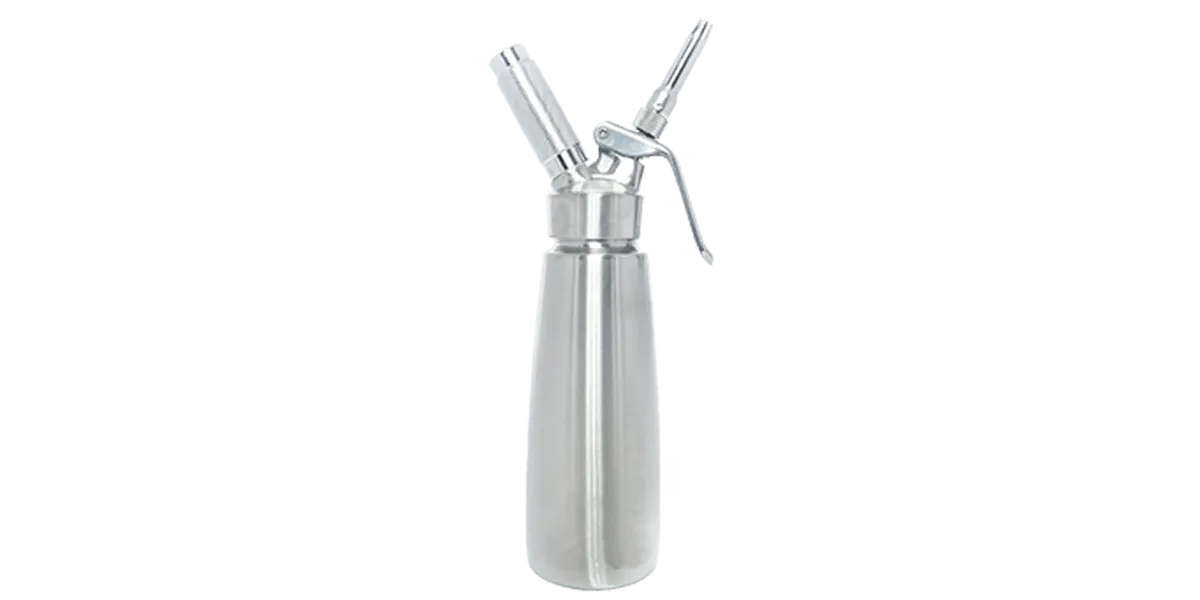
Dispenser: Typically stainless steel or aluminium with a removable head.
Cream Chargers: These are small cartridges filled with nitrous oxide (N2O).
Cream: Use thickened or heavy cream with a fat content of at least 30%.
Optional Additions: Icing sugar, vanilla extract, flavoured syrups, or natural thickeners like gelatin.
Pour chilled heavy cream into the canister, filling it up to the marked line. If you’re adding sweeteners or flavours, mix them in now. Avoid overfilling, as the gas needs room to expand.
Secure the lid tightly. Make sure the gasket (rubber ring) is in place to prevent leaks. Attach your chosen nozzle to the head.
Place a charger into the holder and screw it onto the dispenser. You’ll hear a short hissing sound — that means the gas has been released.
Give the dispenser 5–6 firm shakes. This mixes the nitrous oxide with the cream. Don’t shake too hard or too long; overdoing it can result in butter-like textures.
Turn the dispenser upside down. Gently press the lever to release the whipped cream. Smooth, controlled pressure gives the best result.
Once finished, release any remaining gas by holding the lever until pressure is gone. Unscrew the head, rinse all parts with warm water, and use a small brush to clean the nozzle and gasket. Dry thoroughly before storing.
Use cold cream and a chilled canister for better volume and texture.
Pre-mix ingredients to avoid clogs.
Avoid over-shaking — 5 to 6 shakes is the sweet spot.
Refrigerate upright if storing cream for later. Best used within 48 hours.
Dispenser bottles aren’t just for desserts:
Infused Spirits: Add flavourings like herbs or citrus, charge, let sit briefly, then release pressure slowly.
Gourmet Foams: Create airy textures using ingredients like beetroot, truffle oil, or fruit purée.
Warm Sauces: Place the filled canister in a warm water bath to serve sauces like hollandaise without clumps.
Customise your topping with these easy ideas:
Chocolate Cream: Add cocoa powder and a dash of espresso.
Maple Vanilla: Mix in maple syrup and vanilla extract.
Citrus Zest: Lemon or orange zest adds a fresh lift.
No Cream Dispensed? Check if the charger was used correctly or clean a blocked nozzle.
Runny Cream? Use colder ingredients or check your cream’s fat content.
Clumpy Texture? Likely over-shaken or ingredients weren’t strained.
A whipped cream dispenser can do much more than deliver fluffy toppings. With a little practice, it becomes a go-to tool for creativity in both sweet and savoury dishes. Whether you’re enhancing desserts or testing a new cocktail infusion, it’s a must-have for modern kitchens.
Need a quick cream charger restock in Melbourne? Choose local delivery services for speed, reliability, and convenience — no late-night run to the shops required.


